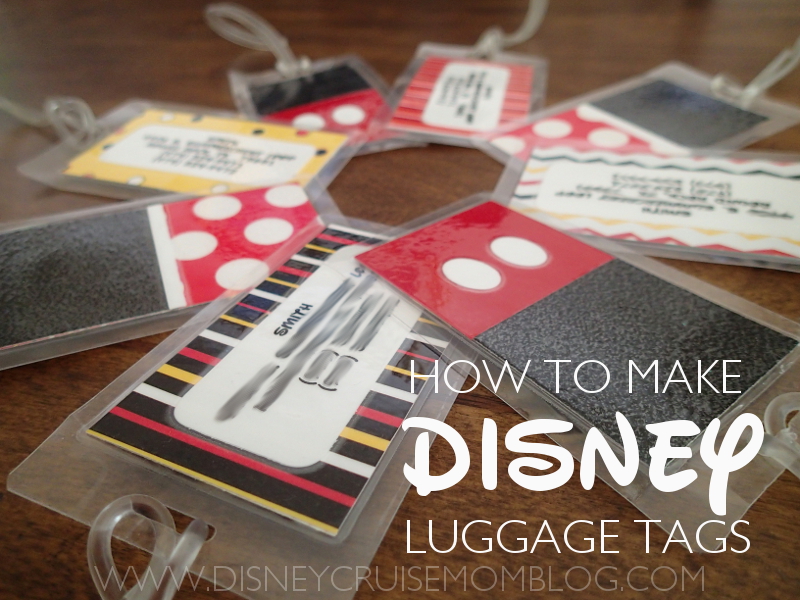
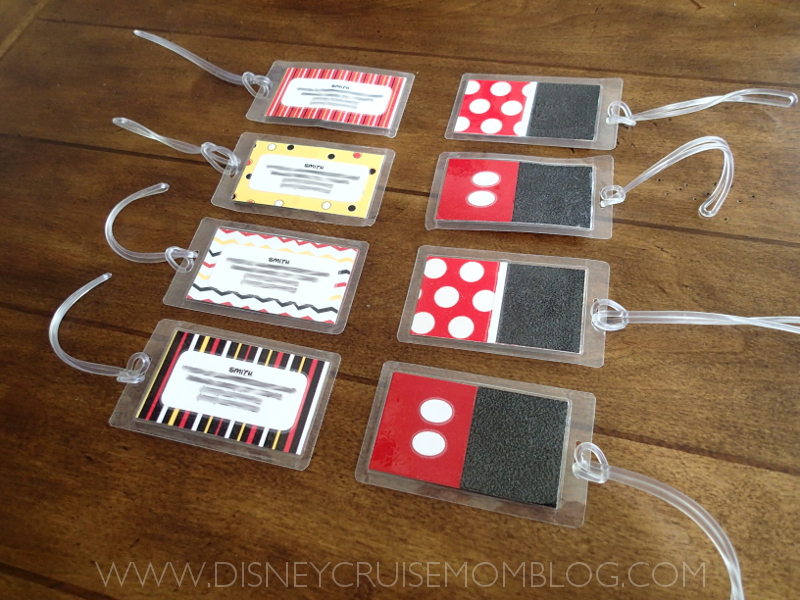
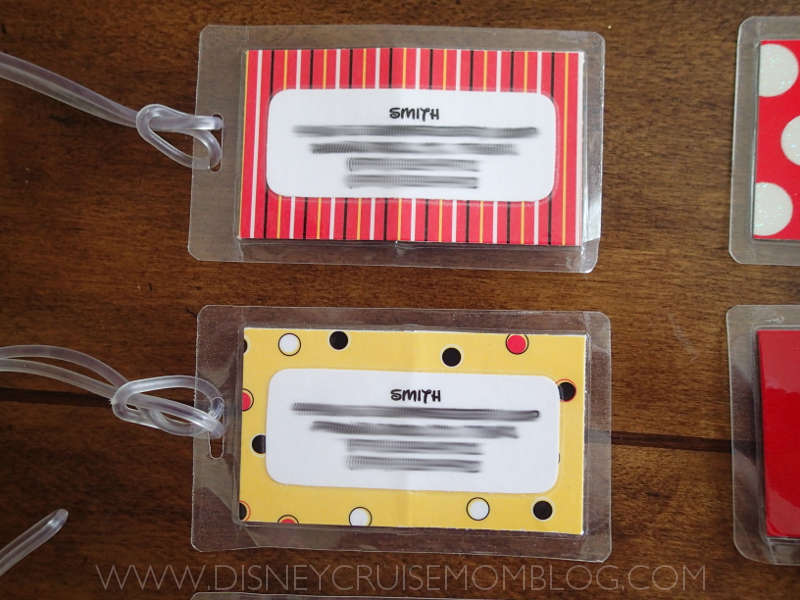
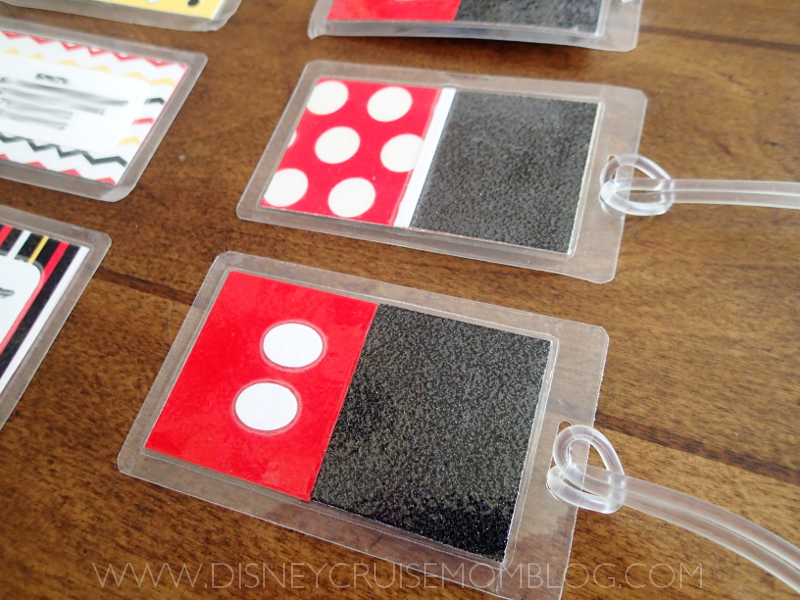
Today I want to share with you my homemade Disney luggage tags that I made a few years ago and use on every Disney trip. Here is what they look like on the front (left column) and back (right column):
I think it was before our second cruise that I decided I wanted to use real luggage tags on our luggage instead of the paper ones you grab at the airport while checking in. One day while I was at Target I looked at their luggage tags and was shocked at how expensive they were. They ranged from $4 to $20 EACH! This is not a big deal if you only need a couple, but I needed 10 (you will never see a blog post from me about packing light!) which was WAY more than I wanted to spend on luggage tags. I started thinking about cheaper options and I remembered seeing something on Facebook about a making your own luggage tags with a laminating machine. I already had this laminating machine and had used it a few times for other projects and knew it worked really well, so I just bought this luggage tag set and went to work.
I bought scrapbook paper from the craft store in glittery black, red and red/white polka dot (for the Mickey/Minnie designs on the backs of the tags), and I was also lucky to find 4 patterns of paper that included red, black, yellow and white designs which I used on the fronts of the tags. You want to be sure and use small patterns since the tags are small. I bought mine at a local scrapbooking store, but here are some that would also work:
Ek Success Mickey Decorative Paper Pad Pack
EK Success Mickey Mouse Black/White/Red Paper Pack, 10 Sheets
SandyLion Disney Mickey Mouse Paper Pack
For Mickey’s buttons, I used plain white paper and an oval hole punch that I already had. I can’t find one online, but you could also use a 1/2″ circle punch like this one.
Next I printed out our name, address and phone numbers on my computer (using the Walt font) and used my scrapbooking tools to cut & glue all of the tags together like you see in the pictures. It was pretty simple and didn’t take long at all! Then I placed each tag inside a laminating pouch and ran it through the machine. Done! WAY cheaper and WAY cuter than buying the plain ones at Target. I think these would make great fish extender gifts as well. Obviously you couldn’t put the person’s name and address on there, but you could put blank lines and let them write it on with a Sharpie, or they could just stick an address label on as well.
ETA: Since this post, I have made a second set of luggage tags using a slightly different method. You can read that post by clicking here.
.
Also, you can also follow me on Pinterest (click here) and Facebook (click here) for all of the latest Disney Cruise Mom Blog updates!
This post contains affiliate links, which means that if you make a purchase through my links, the seller will pay me a small commission for it at no additional cost to you. I am grateful for your support of this site in this way, so thank you!


Can you suggest a good laminating machine? I’ve been thinking about getting one for a while but put it off cause I don’t know where to start!
Yes! I love my laminating machine. You can find it here: http://amzn.to/1PXByrg
Where did you get the laminating pouches and strap?
These are the ones I used and they come with the loops: http://amzn.to/1ScSbym Hope this helps!