For a while now I have been admiring travel pin maps online and thought about making my own. Well, I finally got around to it and I would love to show you how I did it! I took a very quick and simple approach and I am very happy with the results.
First, I searched online until I found a map that was as large as I wanted it to be, had a muted color scheme, and was inexpensive. This is the map that I settled on (click here for price and details):

Next I tried to find a bulletin board that was large enough for the map, which was not an easy task. I searched regularly for weeks and came up with nothing that I liked. Then just the other day, I was searching on Amazon and found the perfect one. It was a bit more than I was hoping to spend, but I was tired of searching so decided to go for it. This is the board I chose (click here for price and details):
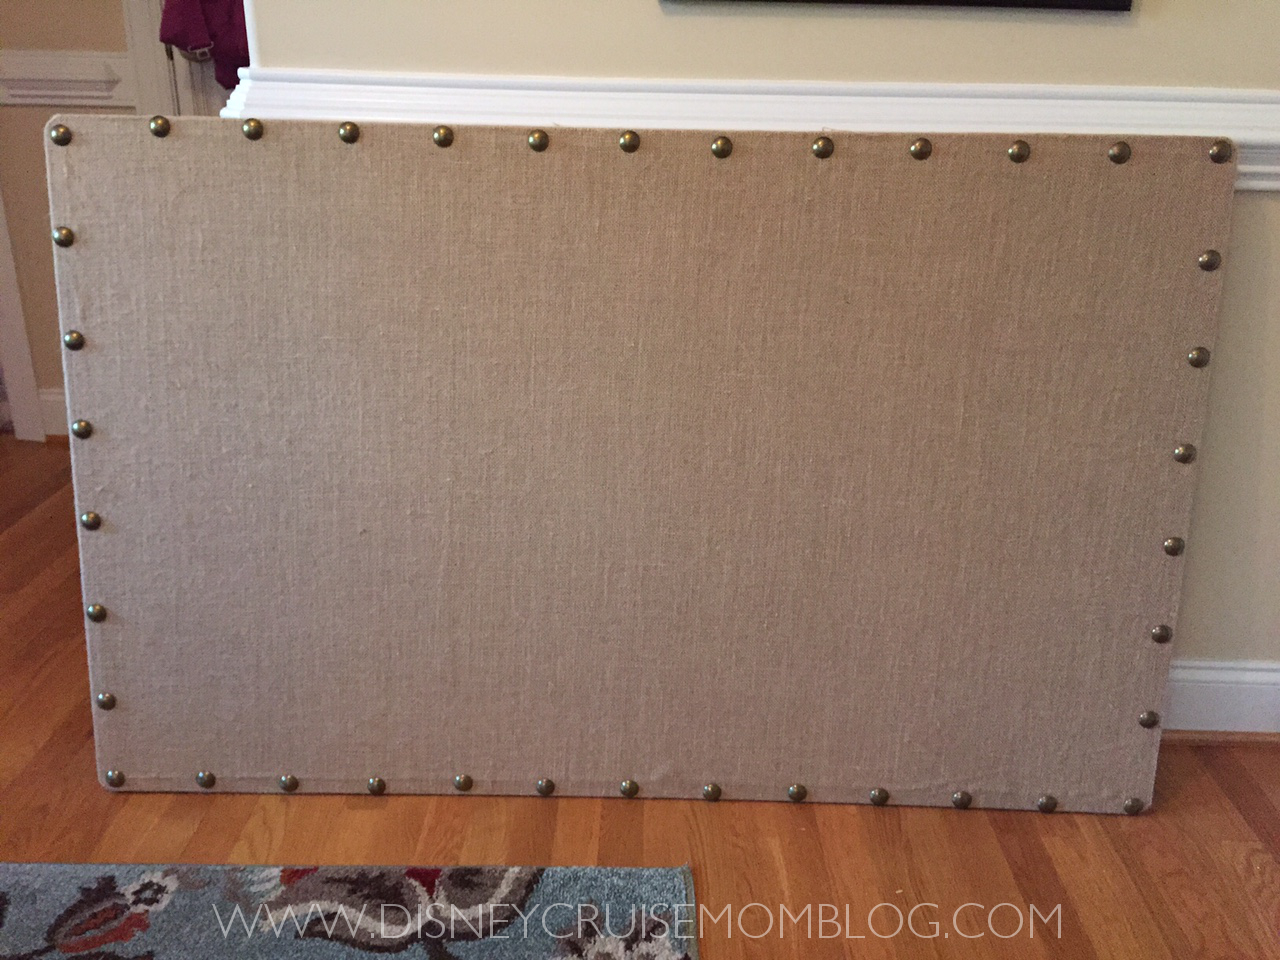
I was a little bit concerned about this board because in the reviews, several people mentioned that the nail heads were really uneven. I decided to take my chances and while the nail heads on the one I received are slightly uneven, it wasn’t too bad and definitely not bad enough to bother exchanging.
I also ordered these map pins.
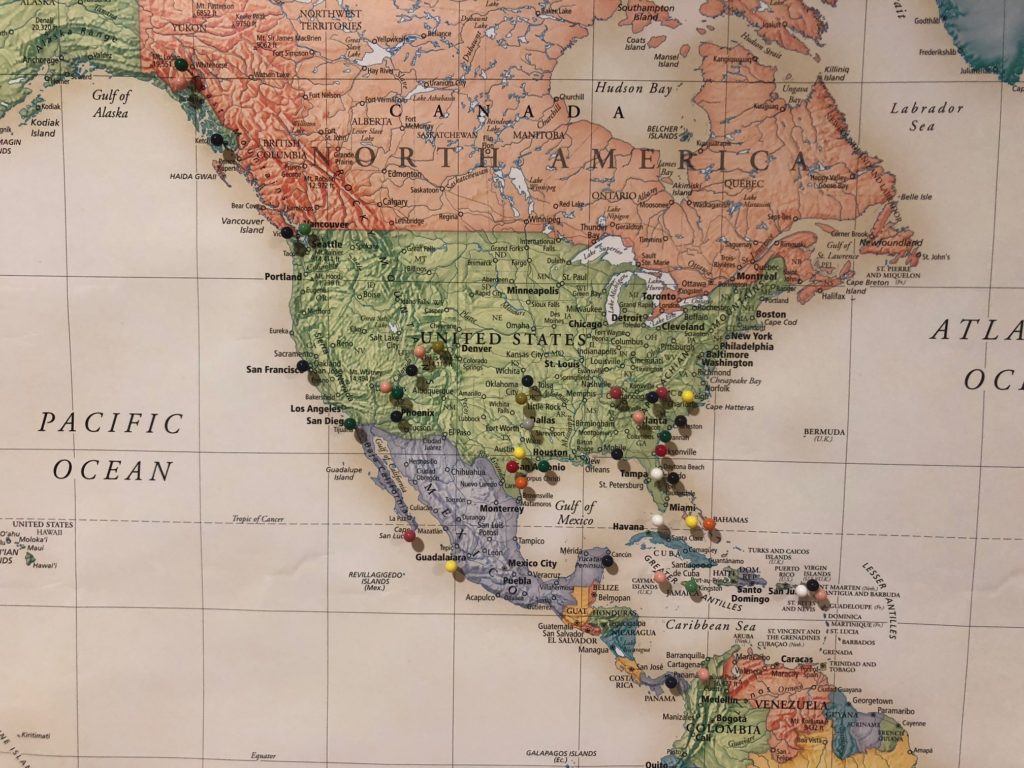
I used regular push pins to attach the map to the board, and then placed the map pins in all of the locations that we have traveled to as a family. Here is how it turned out:
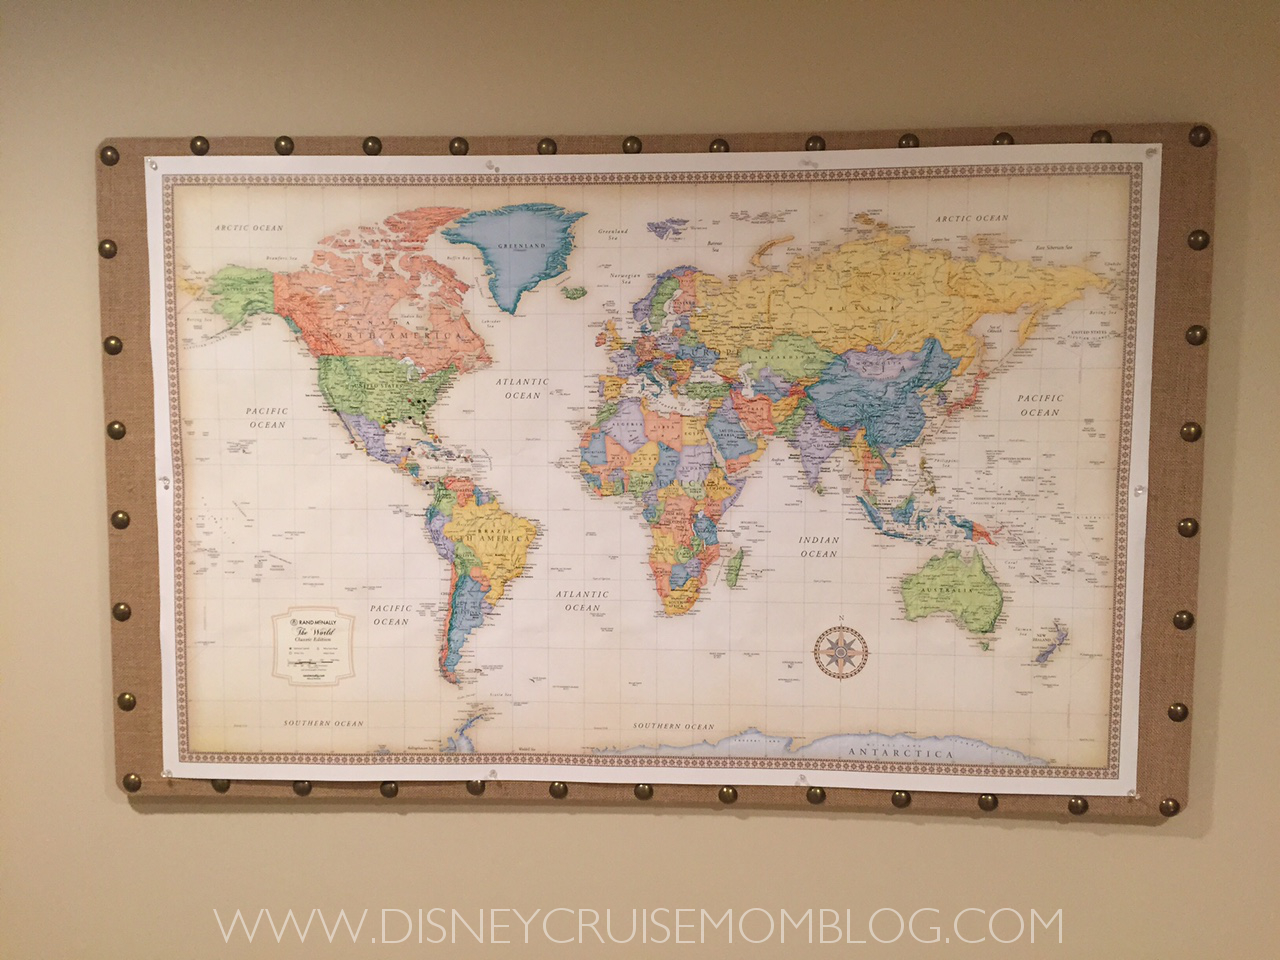
Here is a close up:
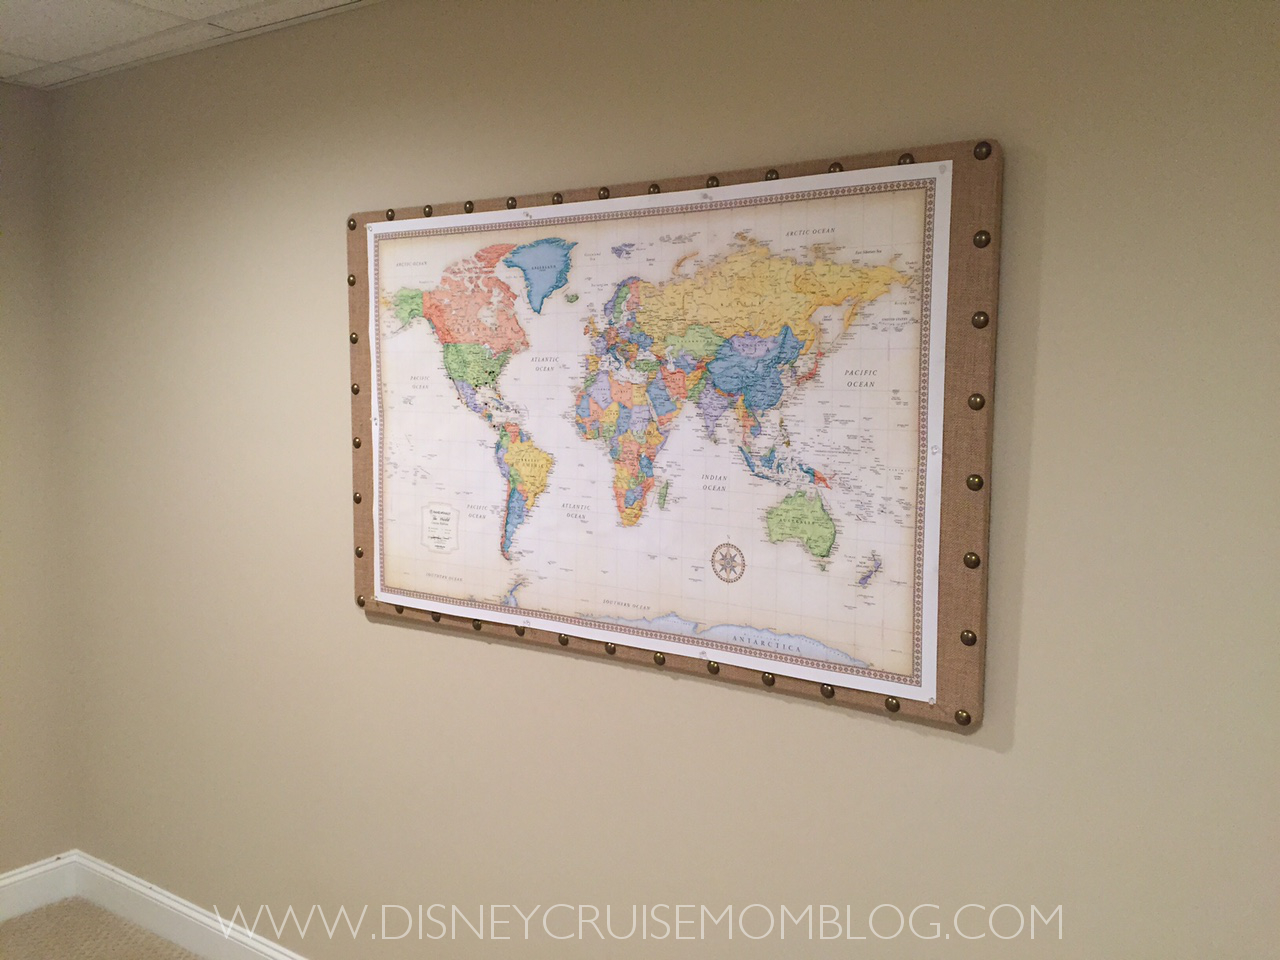
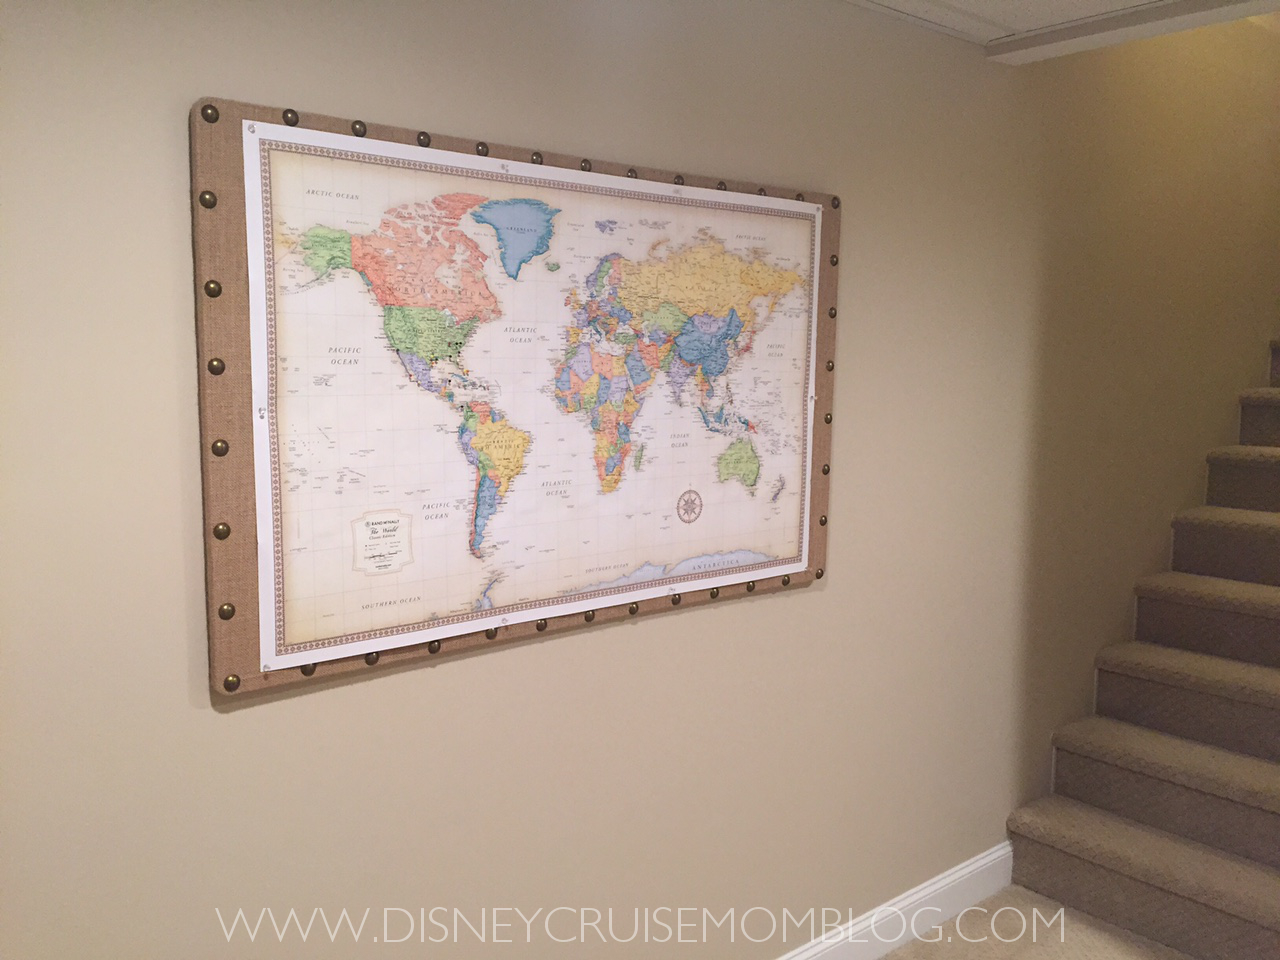
Next I had to decide where to hang such a huge item. We have a really large wall in our basement, right at the bottom of the stairs, that was the perfect spot.
As always, don’t forget to like me on Facebook (click here) and follow me on Pinterest (click here) for all of the latest Disney Cruise Mom Blog updates!
.
This post contains affiliate links, which means that if you make a purchase through my links, the seller will pay me a small commission for it at no additional cost to you. I am grateful for your support of this site in this way, so thank you!
Leave a Reply
You must be logged in to post a comment.