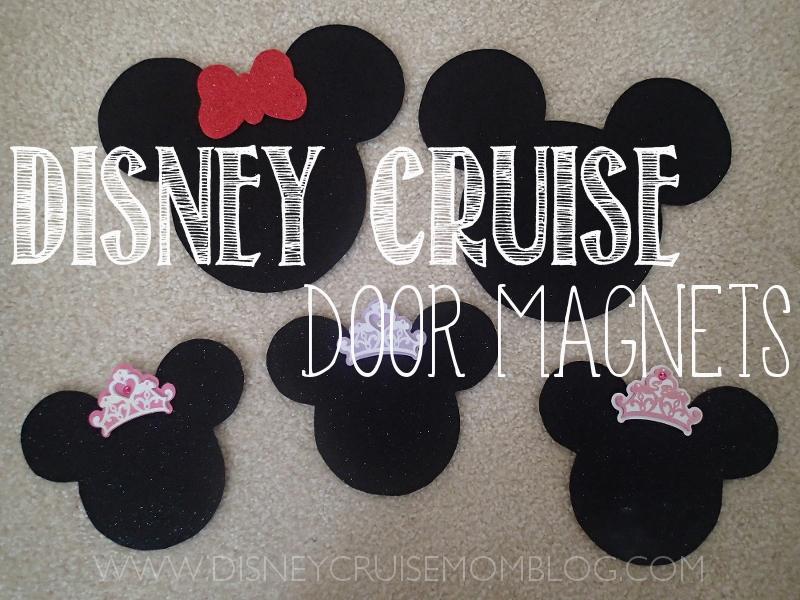
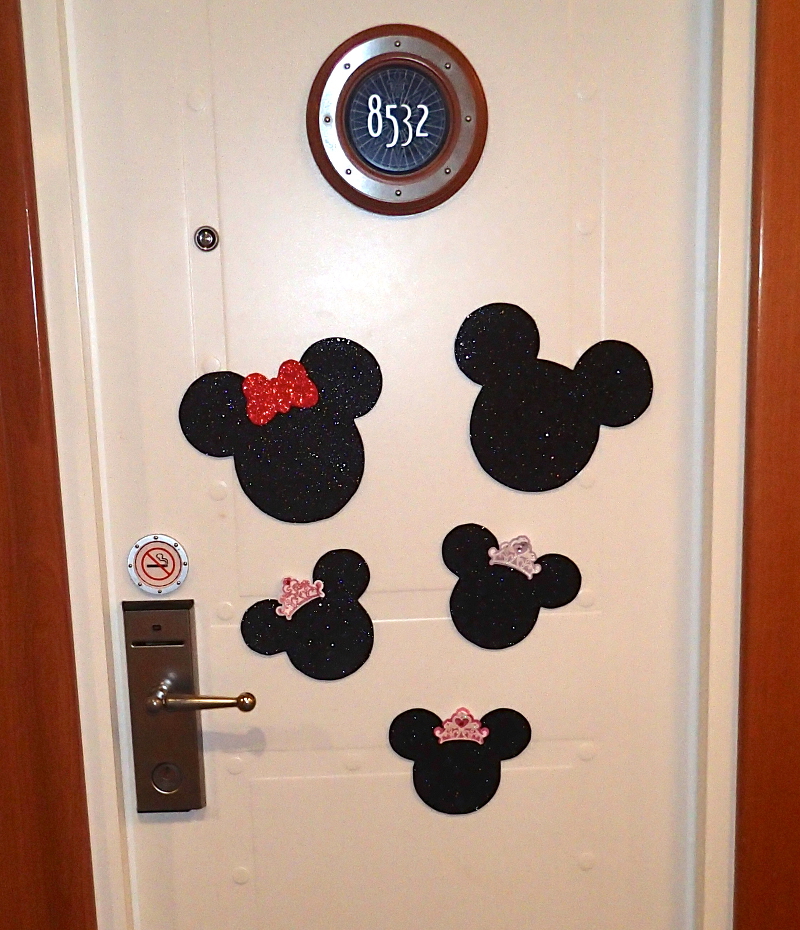
Anyone who has been on a Disney Cruise knows exactly what I am talking about when I mention door magnets. I don’t know if people on other cruise lines do this or not, but Disney cruisers sure do love them some door magnets! With every cruise I take, it seems like more and more people are using them to decorate their doors. After our first cruise, I decided to jump on the bandwagon and make some for our door, and I take these with us whenever we cruise. Here is what ours look like:
I have found that one advantage of magnets on the door is that it makes it easy to spot our room door quickly amongst a long hallway full of otherwise identical doors. One disadvantage which I have heard of, but thankfully never experienced, is that some people’s magnets occasionally go “missing”. Whether it is just kids messing around and moving them to different doors, or people taking them and keeping them for themselves I don’t know – I would imagine it is a little bit of both. For this reason, I did not spend a lot of money or time on our magnets so that I would not be upset if they disappeared. I also write our room number on the back of them so that if they did turn up on someone else’s door and there is any type of dispute, then I have at least a little bit of proof that they are mine. Some people write their names on the front of the magnet as part of the design which would probably deter magnet theft, but I know that some people are uncomfortable having their first and/or last names all over their room door for privacy reasons.
Now, some people go all out and use a TON of magnets, but I prefer to keep it simple and decided to make one magnet to represent each member of our family. Here is a close up of ours:
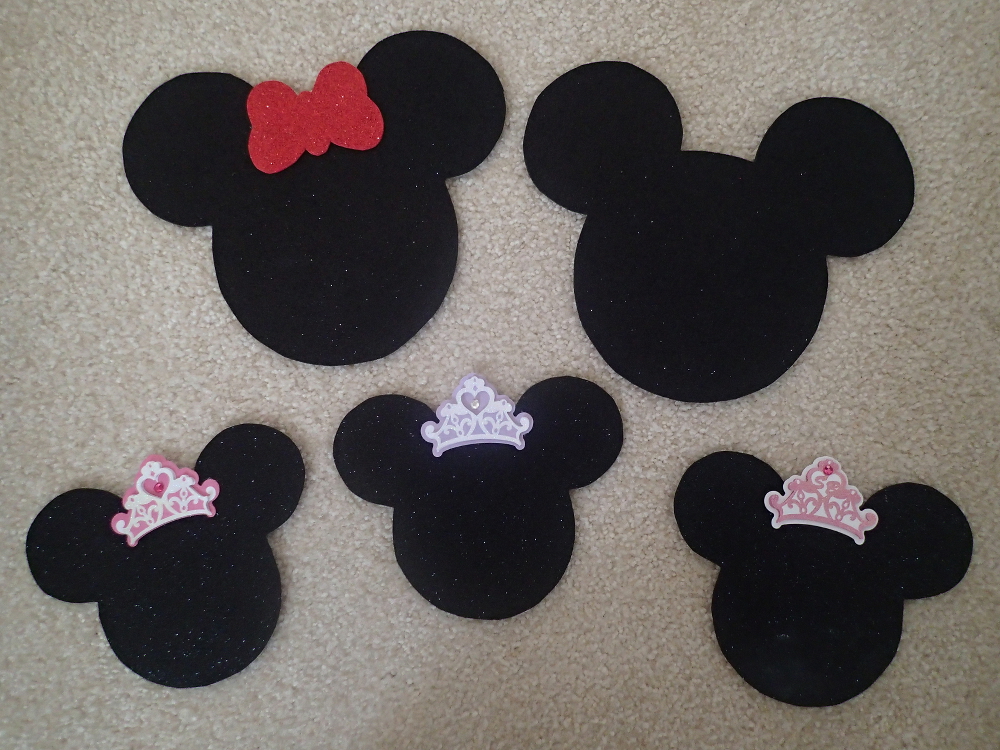
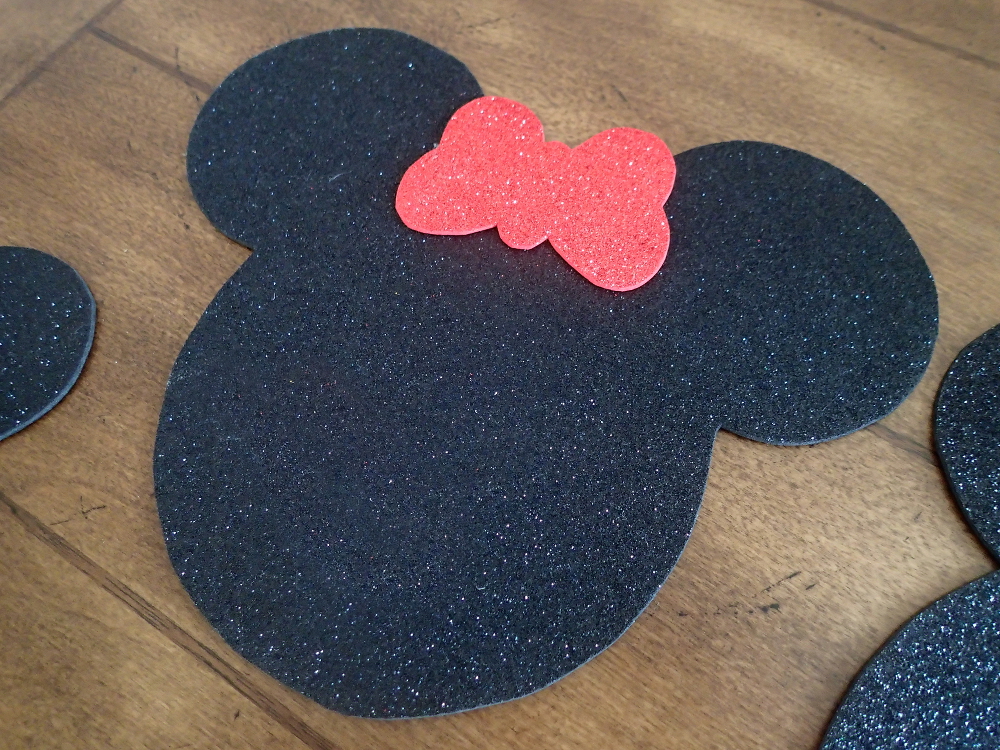
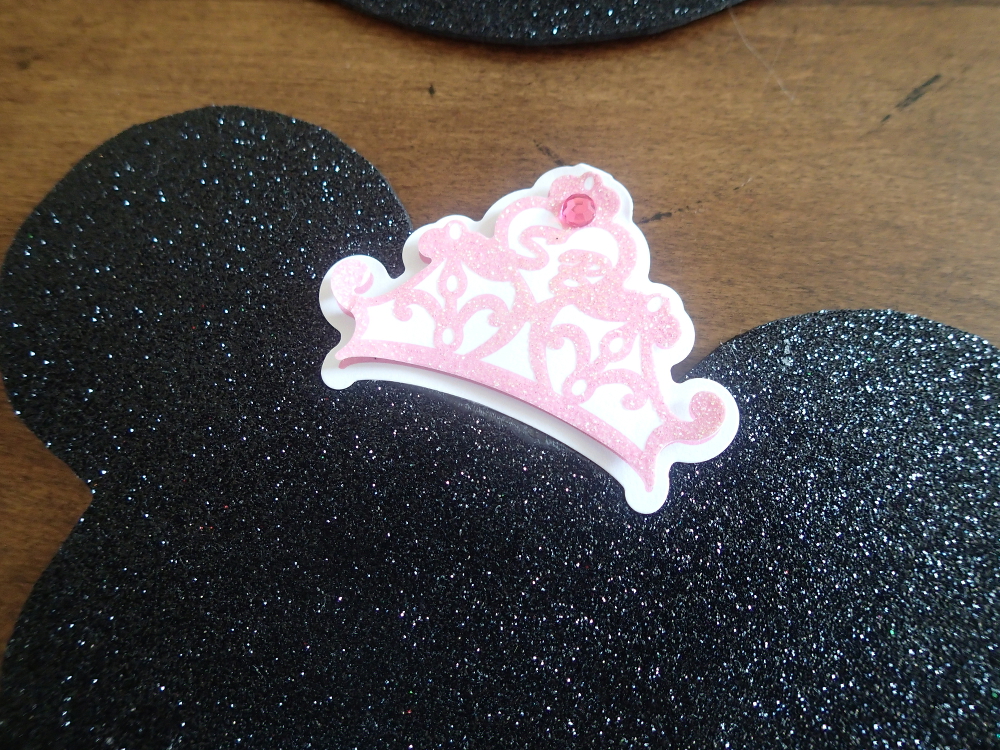
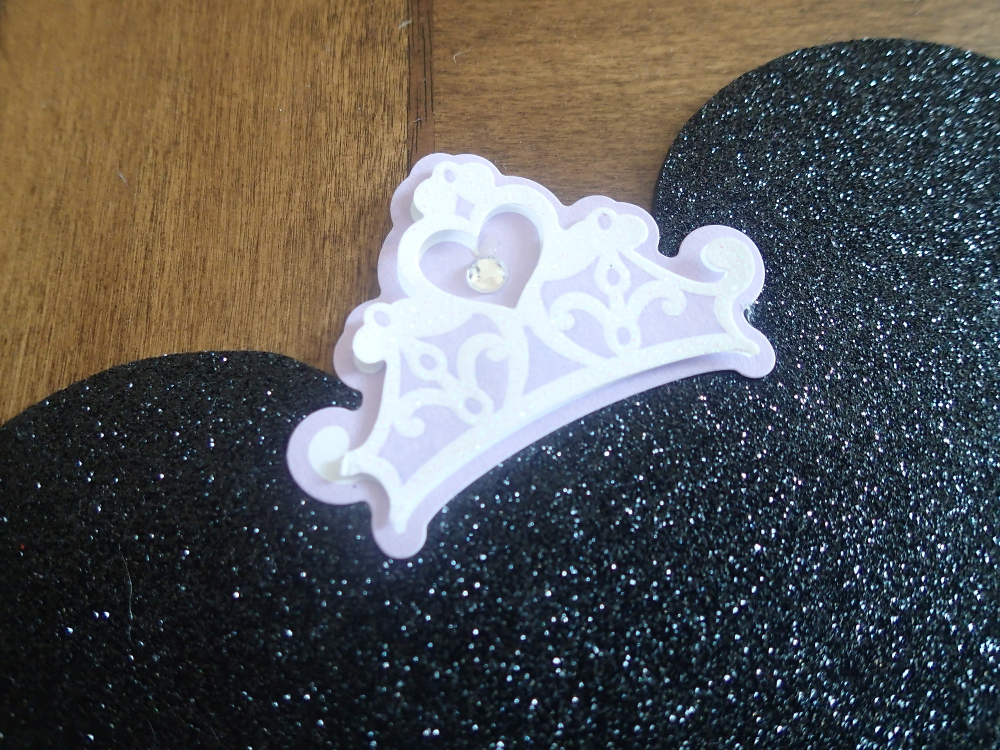
To make them, I bought some black and red glittery foam sheets from Hobby Lobby just like the ones here. You could also use non-glitter ones like these if you want to keep the cost down. I also bought some paper crown decals at a scrapbooking store very similar to these. I printed off a Mickey head (that I found online) in 2 different sizes, cut them out, and used them as patterns to trace the shape on the back of the foam sheets. I also used this same method for the red bow. Then I just cut them out, hot glued some magnets on the back, and hot glued the bow and crowns on and I was done! It was quick & easy. Here are some close-ups:
To pack our magnets so that they don’t get bent, I just put them inside a collapsed priority mail box that I grabbed from the post office and place the collapsed box in the very bottom of my suitcase. This keeps them perfectly flat inside the suitcase.
I know that a lot of people print out cool graphics directly onto magnetic sheets that they can run through their printer, but computer graphics is not my forte so I chose not to go that route. If you have the skills though, that would be a good idea as well.
If you enjoyed this post, be sure and check out some of my other posts by clicking on the menus at the top of the page. Also, please follow me on Facebook (click here) and Pinterest (click here) to be notified of new posts!
.
This post contains affiliate links, which means that if you make a purchase through my links, the seller will pay me a small commission for it at no additional cost to you. I am grateful for your support of this site in this way, so thank you!
Oh! What a great idea! I have been planning our cruise here lately, and just couldn’t bring myself to pay for these. Thanks for the idea!
You’re welcome! Enjoy your cruise!
I’m so glad I found you via Pinterest! I’ve gotten a few good tips from your blog.
Did you use the small round magnets from hobby lobby? I have personalized laminated cards, but I wonder if those are the right magnets. Thanks
Actually, I used thinner square magnets from hobby lobby, but the round ones would work even better because they are thicker (if I am thinking of the same ones you are describing).
Thanks